Skirting is one of the most important — and most overlooked — components of a manufactured home. Good skirting keeps cold air from getting under your home, prevents pests from nesting in the crawl space, protects utility lines from freezing, and dramatically improves your home’s curb appeal. Poor or missing skirting can cost you hundreds of dollars a year in extra heating costs and create serious moisture and pest problems.
This guide covers every major manufactured home skirting option, compares costs and performance, and walks you through basic installation so you know what to expect whether you are doing it yourself or hiring out.
Why Skirting Matters More Than Most Homeowners Realize
Many manufactured homeowners treat skirting as a cosmetic feature — something to make the home look finished. In reality, it serves critical functional roles:
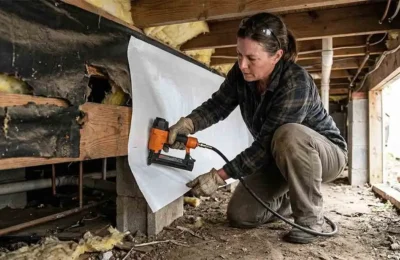
- Thermal protection: Without skirting, cold air circulates freely under your home, chilling the belly insulation from below and driving up heating costs by 15 to 30 percent in cold climates
- Pipe protection: Exposed water lines under a manufactured home without skirting are highly vulnerable to freezing in cold weather — a burst pipe is expensive and disruptive
- Pest exclusion: Open crawl spaces under manufactured homes are prime habitat for rodents, snakes, opossums, and insects. Proper skirting with sealed access panels dramatically reduces pest intrusion
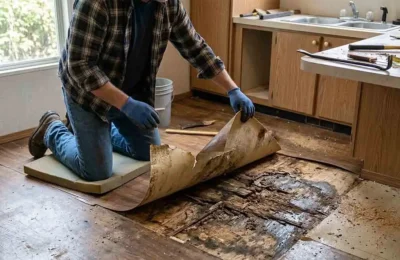
- Moisture control: Good skirting with proper venting controls moisture levels under the home, protecting the belly board and floor system from excess humidity
- Appearance: Yes, it matters. Skirting that matches or complements the home’s exterior significantly improves curb appeal and perceived value
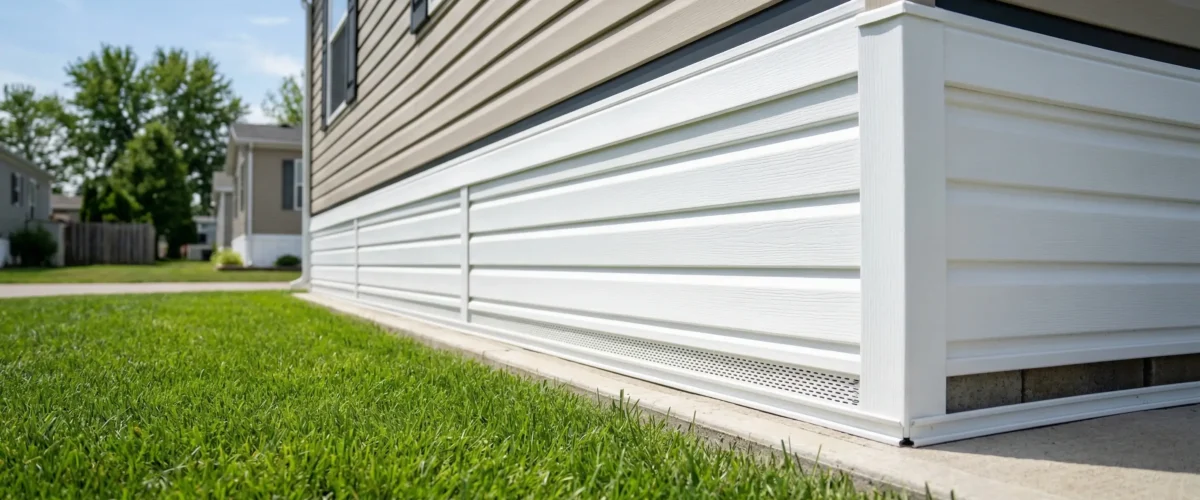
Option 1: Vinyl Skirting — The Most Popular Choice
Vinyl skirting is by far the most common manufactured home skirting material in the United States, and for good reason — it is affordable, easy to install, widely available, and comes in dozens of colors and textures.
Types of Vinyl Skirting
Standard vinyl skirting: Flat or lightly textured panels that snap together horizontally. Available in white, beige, gray, and other neutral colors. This is the most basic and least expensive option.
Insulated vinyl skirting: Vinyl panels with a foam backer bonded to the back surface, adding R-2 to R-4 of insulation value per panel. Costs 20 to 40 percent more than standard vinyl but delivers meaningful energy performance improvement.
Vinyl lattice skirting: Decorative lattice-patterned vinyl panels that allow more airflow under the home. This is primarily a cosmetic choice and offers poor thermal and pest protection. Avoid this option if energy efficiency or pest exclusion is a priority.
Vinyl Skirting Costs
- Standard vinyl skirting (materials only): $200 to $600 for a typical single wide, $400 to $900 for a double wide
- Insulated vinyl skirting (materials only): $350 to $800 for a single wide, $600 to $1,300 for a double wide
- Professional installation (labor): $300 to $700 depending on home size and terrain
Pros and Cons of Vinyl Skirting
Pros: Affordable, easy DIY installation, wide color selection, lightweight, does not rot or rust
Cons: Can crack or break in very cold weather, may be dislodged by wind or animals, provides moderate thermal protection (better with insulated version)
Option 2: Concrete Block Skirting
Concrete block skirting — sometimes called masonry or CMU skirting — is the most durable and thermally effective skirting option. It is also the most expensive and requires more skill to install properly.
Concrete blocks are stacked around the perimeter of the home on a simple footing (typically a concrete pad or treated lumber plate on compacted gravel), mortared in place, and finished with paint or stucco if desired.
Concrete Block Skirting Costs
- Materials only: $500 to $1,500 for a typical single wide
- Professional installation (including footings): $2,000 to $5,000+ depending on home size and local labor rates
Pros and Cons of Concrete Block Skirting
Pros: Extremely durable, excellent pest and rodent exclusion, good thermal mass, long lifespan (decades), can increase home value and appraisal
Cons: Expensive, requires professional installation for best results, heavy and permanent, harder to access the crawl space for repairs
Option 3: Brick Skirting
Brick skirting offers a premium appearance that significantly enhances the look of a manufactured home and can make it appear more like a site-built structure. Real brick skirting is structurally similar to concrete block but with the aesthetic of traditional brick construction.
Brick veneer skirting — a single layer of decorative brick attached to a frame — is a less expensive alternative that provides most of the visual benefit at lower cost and weight.
Brick Skirting Costs
- Brick veneer skirting: $1,500 to $4,000 installed for a typical home
- Full brick skirting: $3,000 to $8,000+ installed
Pros and Cons of Brick Skirting
Pros: Premium appearance, very durable, excellent pest exclusion, significantly boosts curb appeal and appraised value
Cons: Most expensive option, requires professional masonry installation, difficult to modify or repair, heavy
Option 4: Fiber Cement and Hardboard Skirting
Fiber cement skirting panels (similar to HardiePlank siding) offer a durable, paint-able alternative to vinyl with better impact resistance and a more authentic appearance. Fiber cement does not rot, is pest-resistant, and can be painted any color to match your home’s exterior.
Fiber Cement Skirting Costs
- Materials: $400 to $900 for a typical single wide
- Installation: $500 to $1,200
Pros and Cons
Pros: Durable, paintable, attractive, pest resistant, does not crack in cold weather like vinyl
Cons: Heavier than vinyl, requires painting and periodic repainting, more difficult to cut and install than vinyl
Option 5: Metal Skirting
Metal skirting — typically corrugated steel or aluminum — is popular in rural and agricultural settings and is one of the most durable options available. It is resistant to impact, fire, and pests, though it can dent and may rust if not properly finished.
Metal Skirting Costs
- Materials: $300 to $700 for a typical home
- Installation: $400 to $800
Ventilation: A Critical Skirting Requirement
Regardless of which skirting material you choose, proper ventilation of the crawl space is essential. HUD standards require a minimum of 1 square foot of vent opening for every 150 square feet of floor area, with vents placed on at least two opposite sides of the home for cross-ventilation.
Most vinyl and metal skirting systems include vent panels that snap into the regular skirting channels. For concrete or brick skirting, vent inserts are built into the masonry at regular intervals.
In cold climates, foundation vents should be closed in winter and opened in spring to prevent both frozen pipes (winter) and excess moisture buildup (summer). Automatic foundation vents that open and close based on temperature are a convenient upgrade.
DIY Vinyl Skirting Installation: Basic Steps
Vinyl skirting is the most DIY-friendly option. Here is the basic installation process:
- Measure the perimeter: Measure the full perimeter of your home to determine how much material to purchase. Add 10 percent for waste.
- Purchase a complete kit: Vinyl skirting systems include top rail (J-channel), bottom rail, field panels, corner pieces, vent panels, and an access door. Kits are sized by linear footage.
- Install the top rail: Screw the J-channel top rail to the bottom edge of the home’s chassis or rim joist, level around the entire perimeter.
- Set the bottom rail: Stake or anchor the bottom rail to the ground, keeping it level. Use a string line to keep it straight.
- Measure and cut panels: Measure the height needed for each panel (distance between top and bottom rails varies as ground level changes), cut with tin snips or a utility knife, and snap panels into place.
- Install vents and access door: Space vent panels per HUD requirements. Install at least one access panel for utility access.
- Seal the bottom: Backfill or use foam rope caulk to seal any gap between the bottom rail and the ground to prevent cold air and pest entry.
A typical single wide skirting installation takes one to two people a full day. A double wide may take two days. Professional installation costs $300 to $700 and is worth considering if your home has uneven terrain or if concrete footings are needed for the bottom rail.
Maintenance Tips to Extend Skirting Life
- Inspect skirting twice a year — spring and fall — for damage, gaps, and pest entry points
- Repair any holes or cracks promptly before they expand
- Keep vegetation trimmed away from skirting to prevent moisture retention and pest pathways
- Close foundation vents before first hard freeze each winter
- After severe storms, inspect skirting for wind damage and displaced panels
The Bottom Line
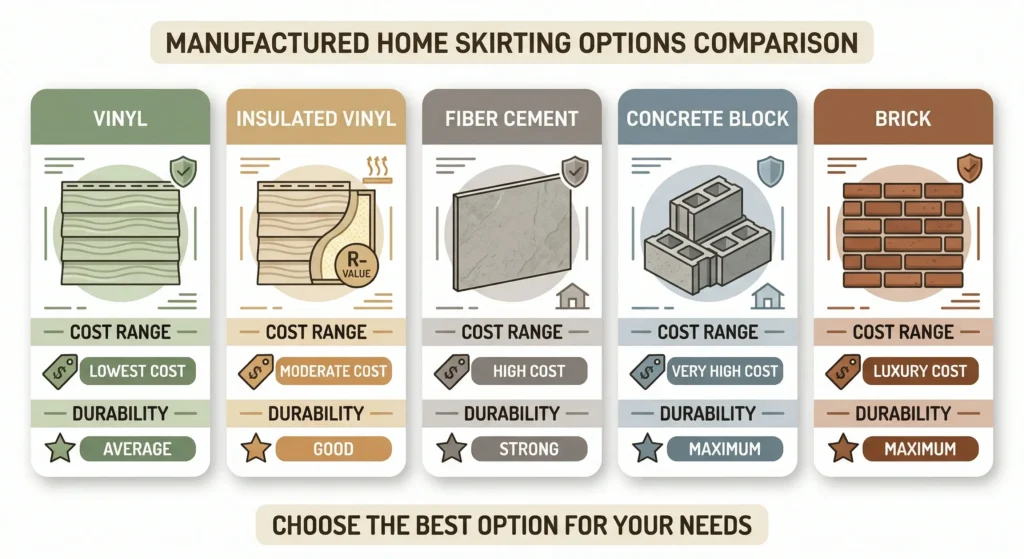
For most manufactured homeowners, insulated vinyl skirting offers the best combination of cost, performance, and ease of installation. Concrete or brick is worth the investment if you plan to stay long-term and want to maximize the home’s value and thermal performance. Whatever material you choose, proper installation and ventilation are more important than the material itself.
Sandy Kowalski is a self-taught manufactured home renovator who transformed a $18,500 fixer-upper into a $78,000 property through eight years of hands-on DIY work. She writes about repairs, upgrades, and budget renovations from firsthand experience — no theory, just what actually works.